Mastering Canva: A Step-by-Step Guide for New Users
Creating stunning graphics has never been easier thanks to Canva, a user-friendly graphic design tool that caters to beginners and seasoned designers alike. In this guide, we’ll explore how you can use Canva to design beautiful graphics effortlessly. Whether you’re making social media posts, presentations, or marketing materials, you’ll find that mastering Canva opens up a world of creative possibilities.
What is Canva?
Canva is an online graphic design platform that allows users to create a variety of visual content using a simple drag-and-drop interface. Founded in 2012, it has grown rapidly in popularity due to its accessibility and the extensive library of templates, images, fonts, and illustrations it offers. With both free and premium features available, Canva caters to everyone—from small business owners needing branding materials to educators creating engaging presentations.

Getting Started with Your Design
To get started with Canva, simply sign up for an account on their website or app. Once you’re logged in, you’ll be greeted by a clean dashboard where you can choose from countless templates based on your specific needs—like flyers, social media graphics, or infographics. Selecting a template will help streamline your design process as it provides a structured layout that you can customize according to your brand’s style.
Navigating the Interface
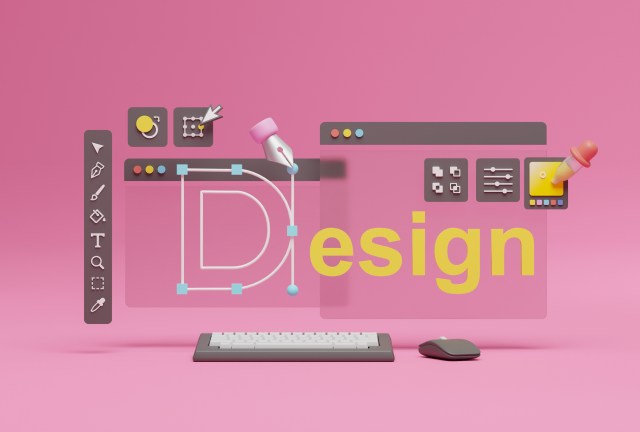
Canva’s interface is intuitive and user-friendly. On the left side of the screen, you’ll find panels for templates (to choose designs), elements (including shapes and icons), uploads (to incorporate your own images), text (to add headings or body text), background options (solid colors or patterns), and more. Simply click on any element you wish to add; drag it onto your canvas; resize it; change its colors; or edit fonts—we’ll get into more specifics shortly.
Customizing Your Graphics
Customization is where the magic happens in Canva. After choosing a template or starting with a blank canvas, personalize your design by changing text: click on any existing text box to edit font typeface, size color alignment etc., making it unique to your brand identity. When adding new elements like photos from their library—simply search terms related directly within their platform. You can also upload images from your device if preferred.
Saving and Sharing Your Designs
Once you’ve created an eye-catching graphic you’re proud of—it’s time to save. Click on the ‘Download’ button located at the top right corner of the interface; here you’ll have options for file types such as PNGs or PDFs depending on how you’d like others view them later. Moreover sharing via social media platforms directly through Canva makes spreading awareness about projects even simpler than before.
With this step-by-step guide as your introduction to Canva’s capabilities—you are well-equipped now knowledge-wise create stunning designs effortlessly tailored exactly suited towards whatever purpose desired. Whether promoting products online creating engaging content for audiences enjoying crafting personalized invitations there’s no limit creativity has when utilizing powerful tools provided within this amazing platform.
This text was generated using a large language model, and select text has been reviewed and moderated for purposes such as readability.


